Easter Bunny Cake fun tutorial from Kiwicakes
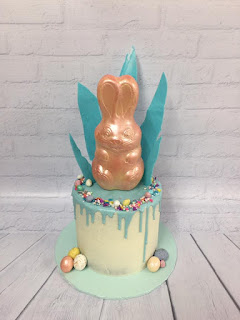
This cake was so much fun to make, and it made everyone smile that saw it.
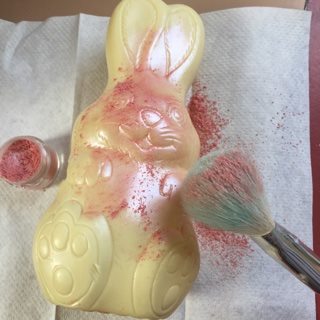
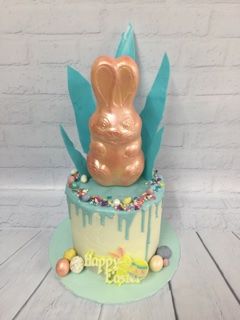
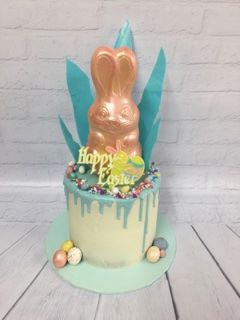
I wanted to be a little different and use a white bunny, which I dusted with pink lustre dust You simply brush it on dry and it sticks beautifully.
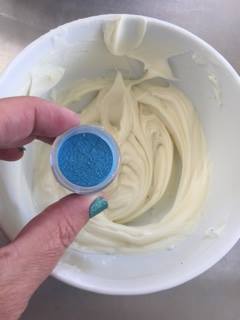
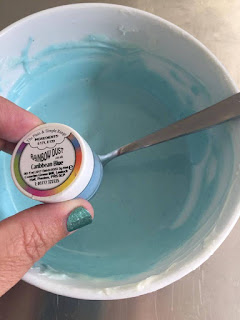
The cake was 6'' in diameter and is over 6'' high. I sandwiched the two layers together with millionaires caramel and then used Bakels white truffle to coat the cake. I went for a semi-naked cake look. I then added Rainbow Dust Caribbean Blue dust to more white truffle and mixed to form this lovely blue shade for the drip effect. I popped it in to a piping bag, first piping a ring around the outside and allowing it to drip. Once set, I then filled in the centre (if you cover the top and allow it to drip, you get too wide drips and too much dripping)
Before the truffle set, I sprinkled some Easter Sprinkle Medley around the rim of the cake - placing by hand some of the larger elements from the medley.
I couldn't decide at first on the final placement for my Easter plaque. In then end I placed it on the board.
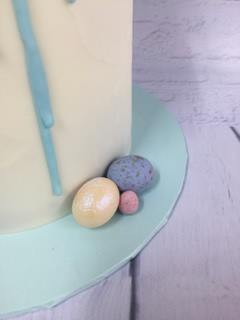
I used some speckled candy eggs from the store, as well as dusting some plain white eggs (you can make these using this mould) and dust with lustre dust.
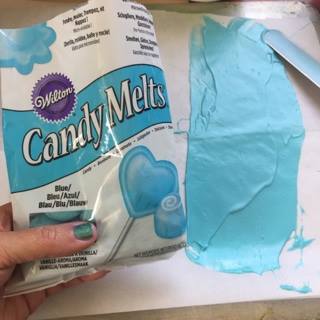
The shards were made by spreading melted Wilton candy melts on to baking paper and allowing to cool, then breaking up using my hands. Don't fret about waste, as any left over can simply be broken up for remelting another day
I used a sharp knife to cut a slit in the cake, then pushed the candy melt shards down in to the slit. It was certainly a quick cake to make, and a very effective finish with the help of some wonderful lustre powders and sprinkles.
